Tatting is a compact form of handmade lace built from tiny knots, rings, chains and picots. It can look intricate, but beginners only need a small set of tools and a few core movements before the structure starts to make sense.
What Is Tatting?
Tatting is a hand-lacemaking technique that uses repeated double stitches and picots to build rings and chains. Those elements can become delicate lace motifs for jewelry, bookmarks, trims, accessories and larger lace pieces.
It is also highly portable: a shuttle, thread and small scissors fit into a tiny project bag, while the same basic technique can grow into detailed work.
This is the foundation article in our Tatting Guides section,
where we’ll build from beginner techniques into jewelry, accessories and more focused tatting topics.
Shuttle Tatting vs Needle Tatting
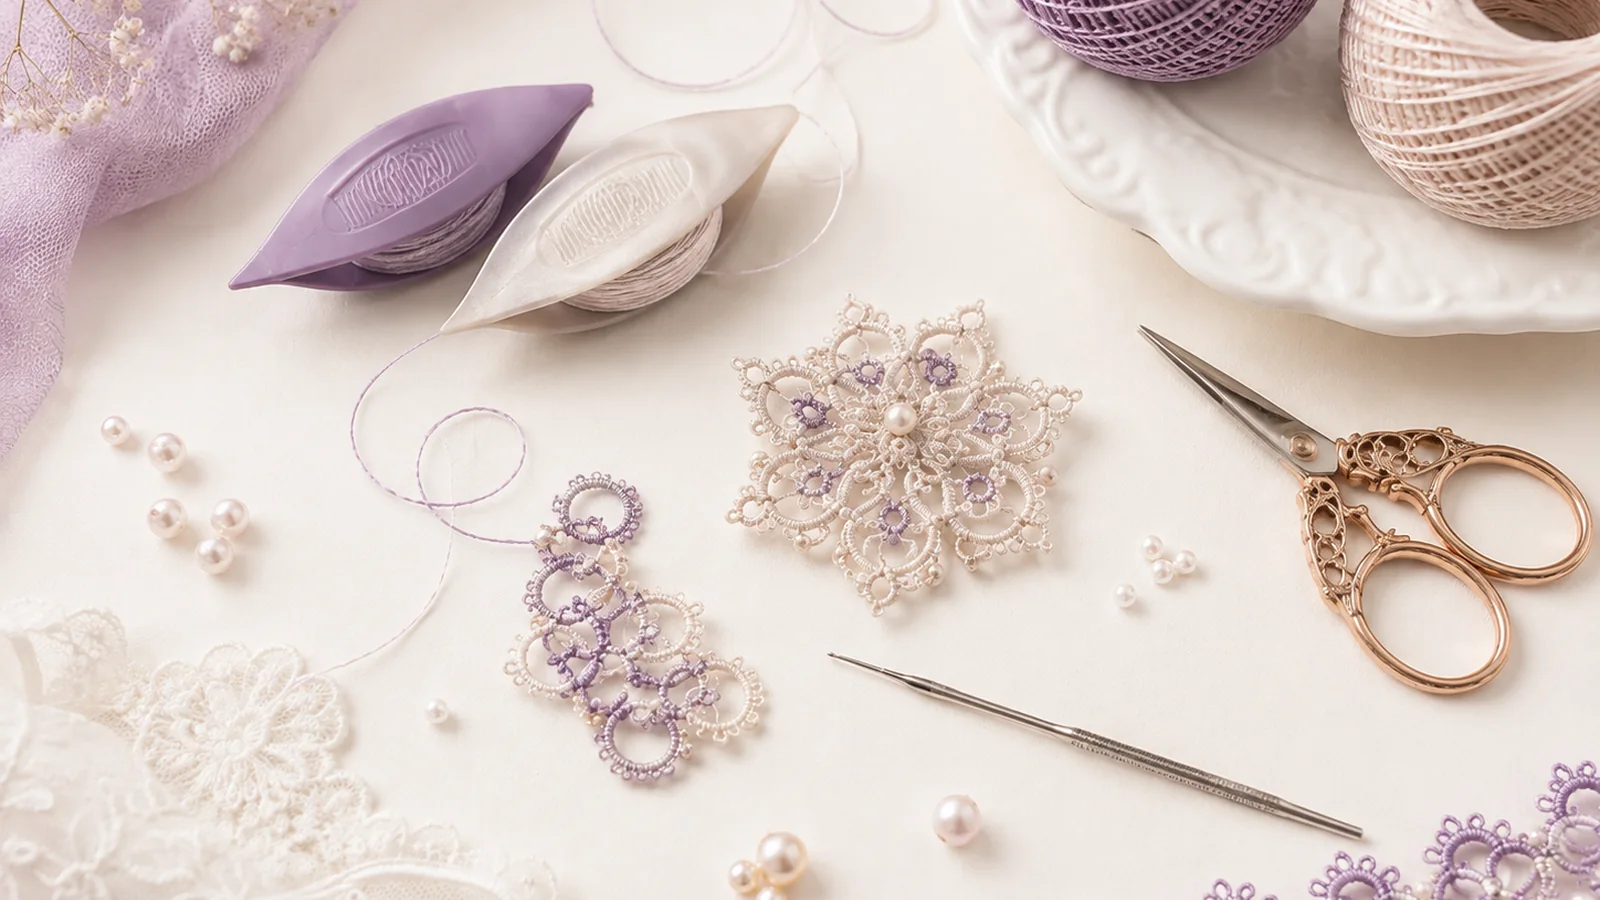
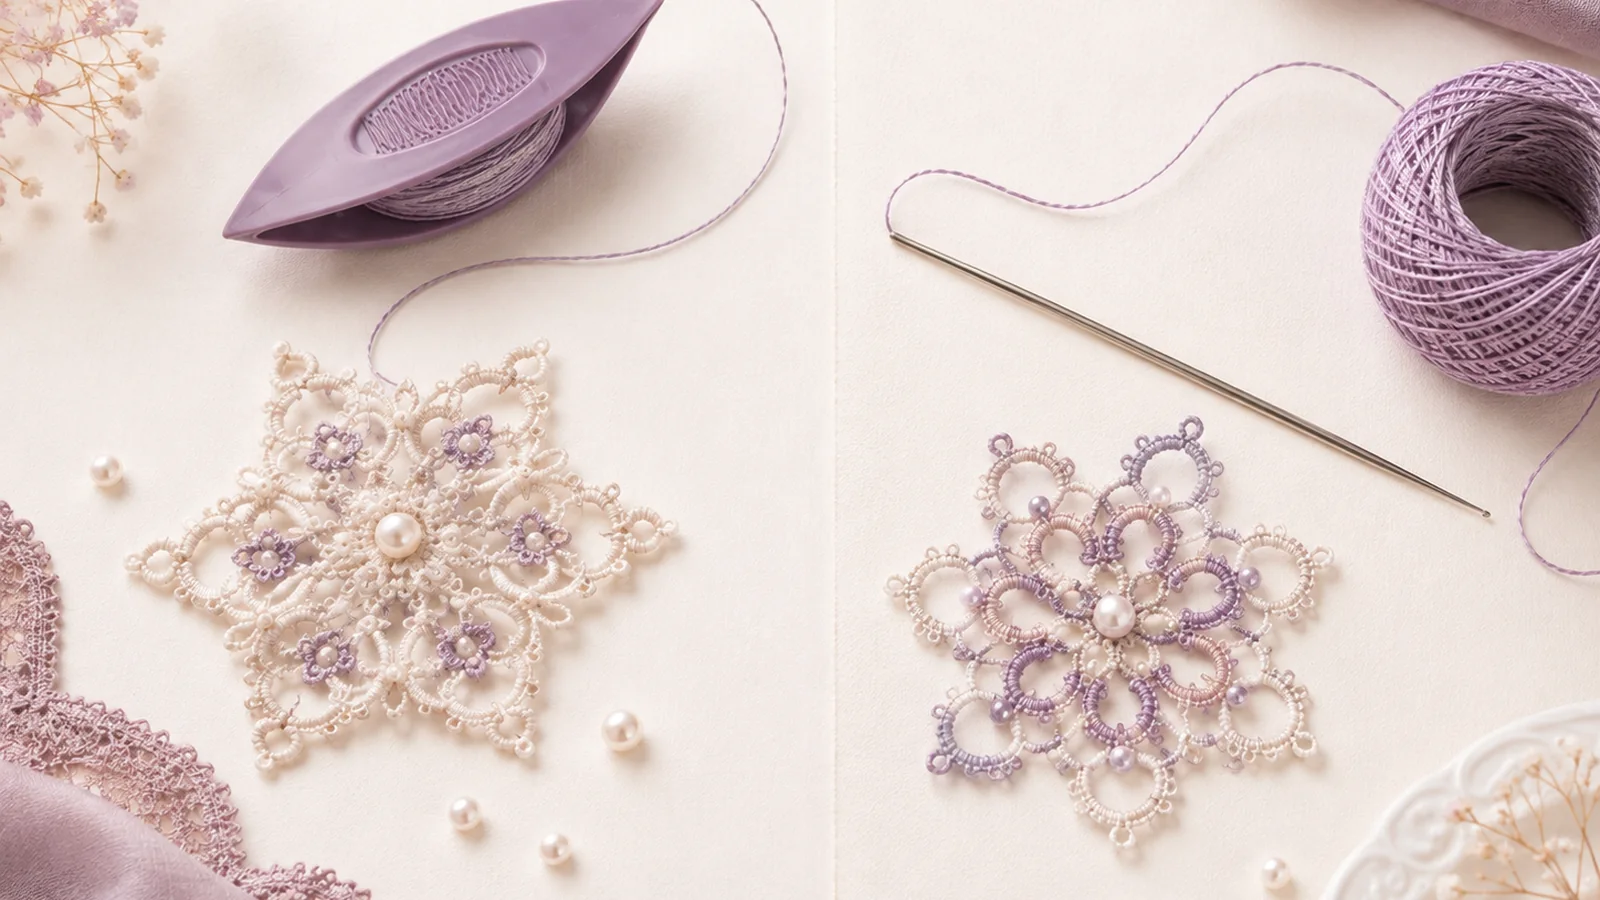
The two methods beginners encounter most are shuttle tatting and needle tatting. Both create knotted lace, but the tool and hand movement differ. Because many traditional and modern patterns are written for shuttles, shuttle terminology is especially useful even if you later try needle tatting.
| Method | Main tool | Beginner focus | Why choose it |
|---|---|---|---|
| Shuttle tatting | Tatting shuttle | Learning to transfer or “flip” the knot correctly | Useful for a wide range of traditional and modern tatting patterns |
| Needle tatting | Long tatting needle | Forming stitches on the needle before drawing thread through | Some beginners find the stitch formation visually easy to follow |
Jewelry, Earrings & Accessories
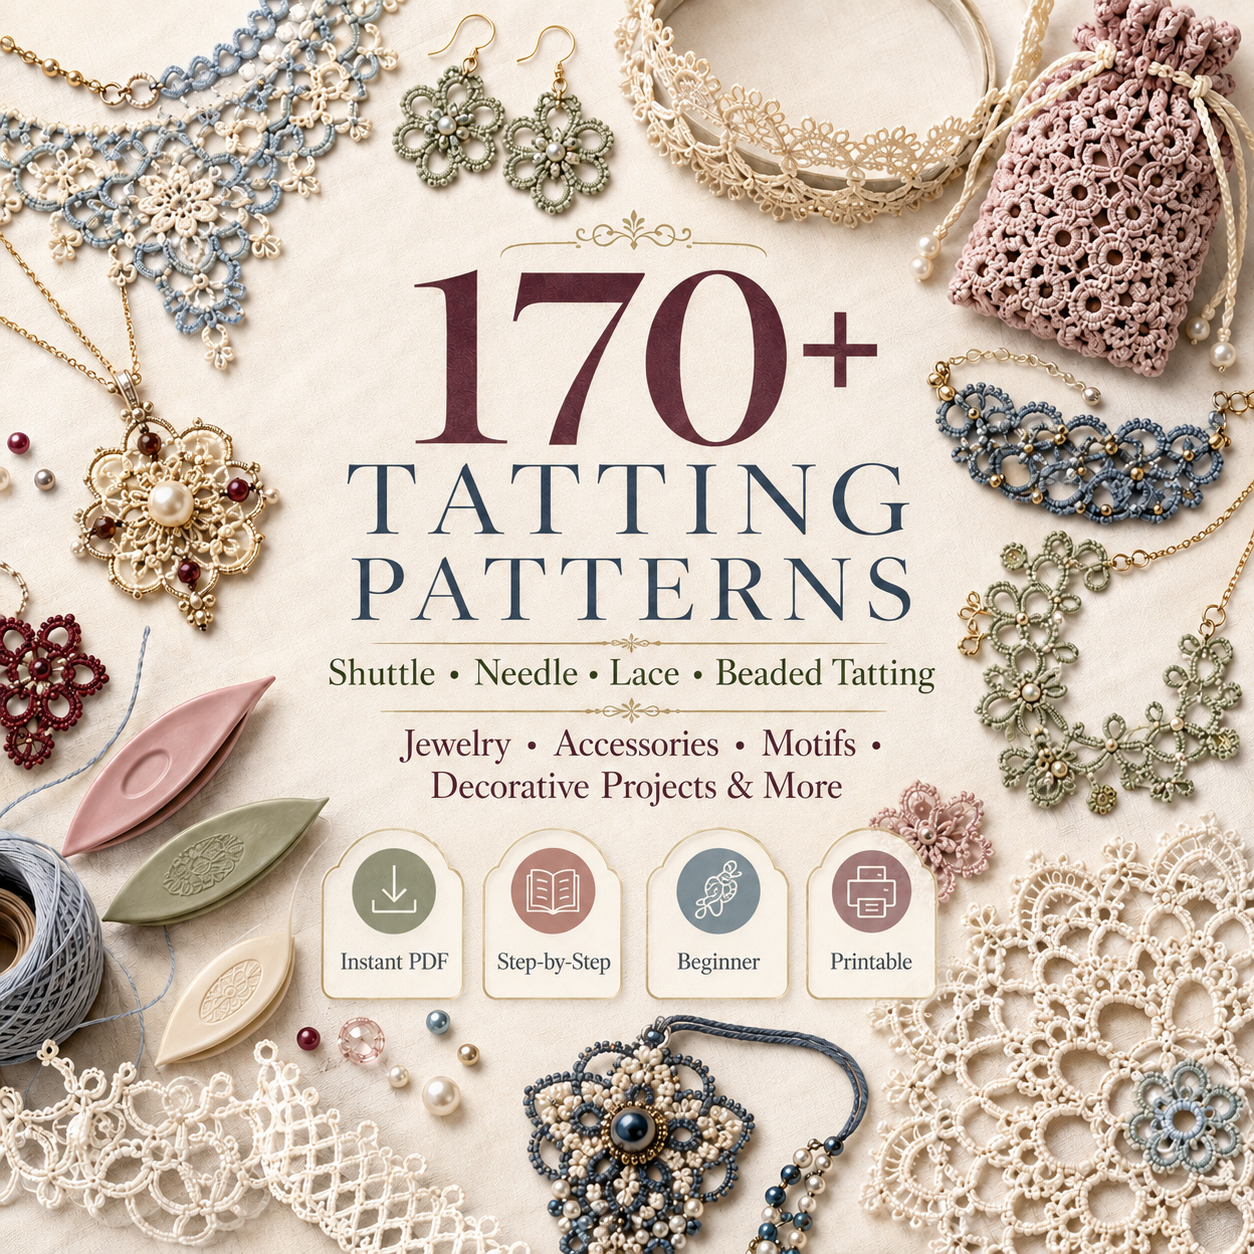
Beginner-friendly, step-by-step tatting projects and patterns in one collection.
What You Need to Start Tatting
Tatting Shuttle
A basic shuttle is enough. A pointed tip can help with joins; otherwise a tiny lace hook can do that job.
Thread
Beginners usually benefit from thicker, smooth, firmly twisted thread because the stitches are easier to see and slide.
Scissors
Small sharp scissors are enough for trimming thread ends while practicing.
Lace Hook
Optional, but useful for pulling thread through picots when making joins.
Thread size changes both visibility and finished scale. Thicker thread creates a larger motif; finer thread creates more delicate lace. In common tatting thread systems, larger thread numbers generally indicate finer thread—for example, size 80 is thinner than size 20.
The Tatting Terms Beginners Should Know
- ds
- Double stitch — the basic tatting stitch.
- R
- Ring — an element closed by pulling the shuttle thread.
- Ch
- Chain — stitches worked across two threads.
- p
- Picot — a loop left between double stitches.
- +
- Join — commonly a connection through a picot.
- RW
- Reverse work — turn the work before continuing.
The Double Stitch: Your Most Important First Skill
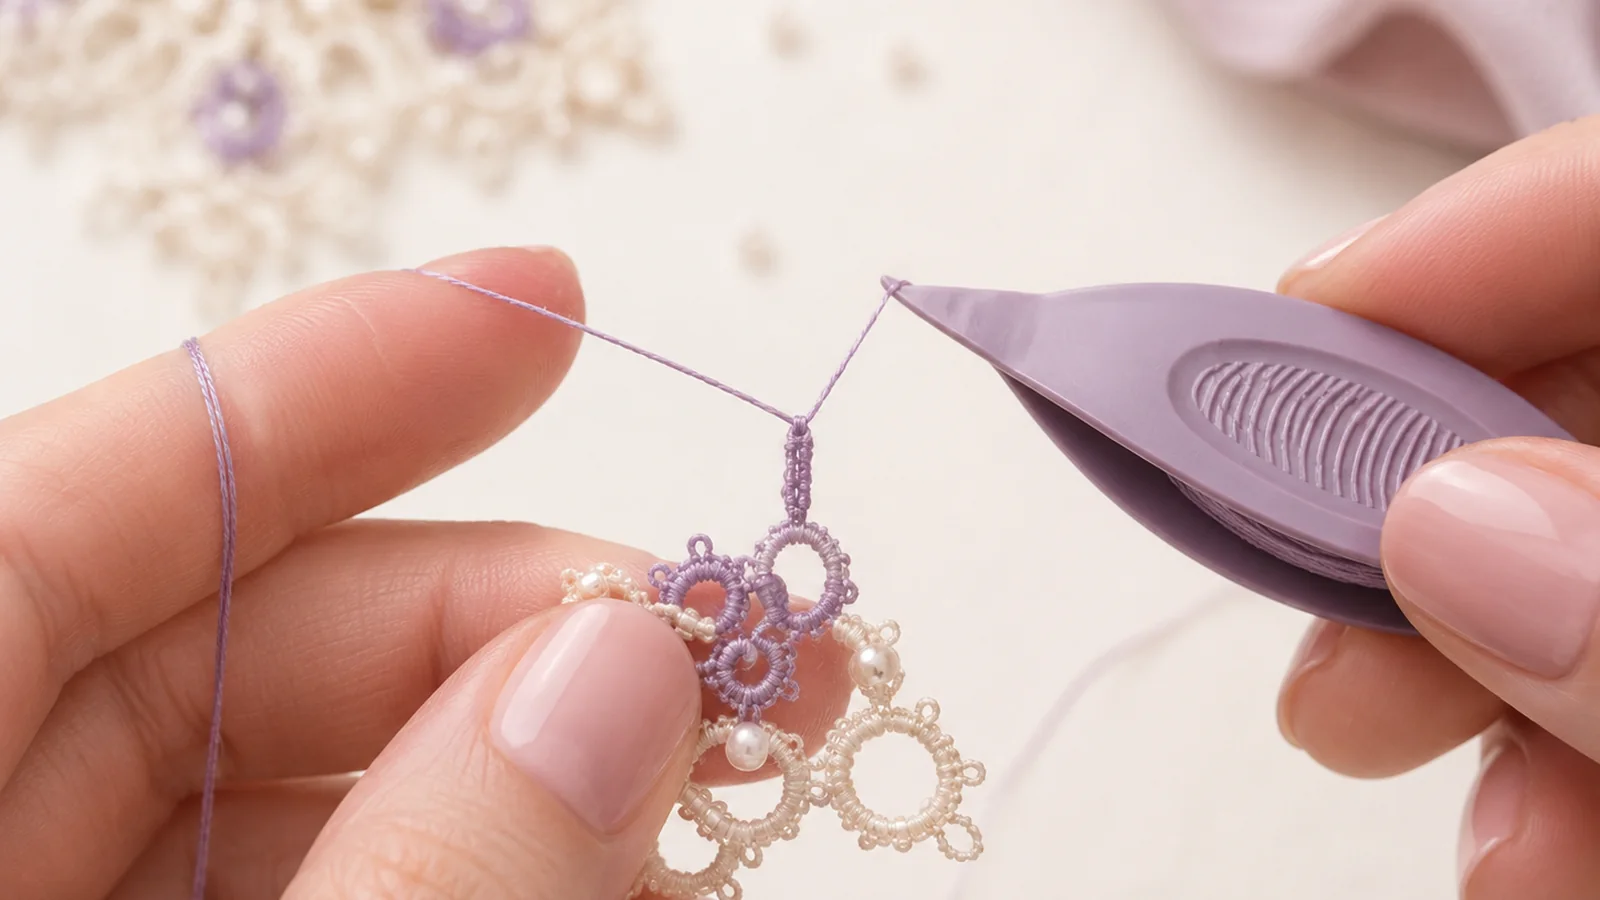
The double stitch is made from a first-half stitch followed by a second-half stitch, but together they count as one complete stitch.
The crucial action is the flip: the knot must transfer from the shuttle thread onto the working thread. When the stitch is correct, the shuttle thread should still slide through the stitches. If it will not slide, the knot has probably formed around the wrong thread.
- Make a working loop. Hold the thread with your non-dominant hand and form the loop that will carry the stitches.
- Pass the shuttle for the first half. Guide it under and over the working thread with enough slack for the knot to transfer.
- Flip the knot. Relax the working thread slightly while keeping the shuttle thread controlled so the knot transfers.
- Complete the second half. Reverse the movement to finish the stitch.
- Test it. Gently move the shuttle thread; it should still slide through the stitches.
Practice With Real Tatting Patterns
Step-by-step jewelry, beaded designs, earrings and accessories to build your skills.
Rings, Chains and Picots
Rings
Work double stitches and picots on the shuttle thread, then pull the thread to close the element.
Chains
Chains use a shuttle thread plus a working thread to create lines that connect or frame rings.
Picots
Small loops between double stitches can be decorative or serve as joining points.
Joins
Joins connect separate parts of the lace, often by working through an existing picot.
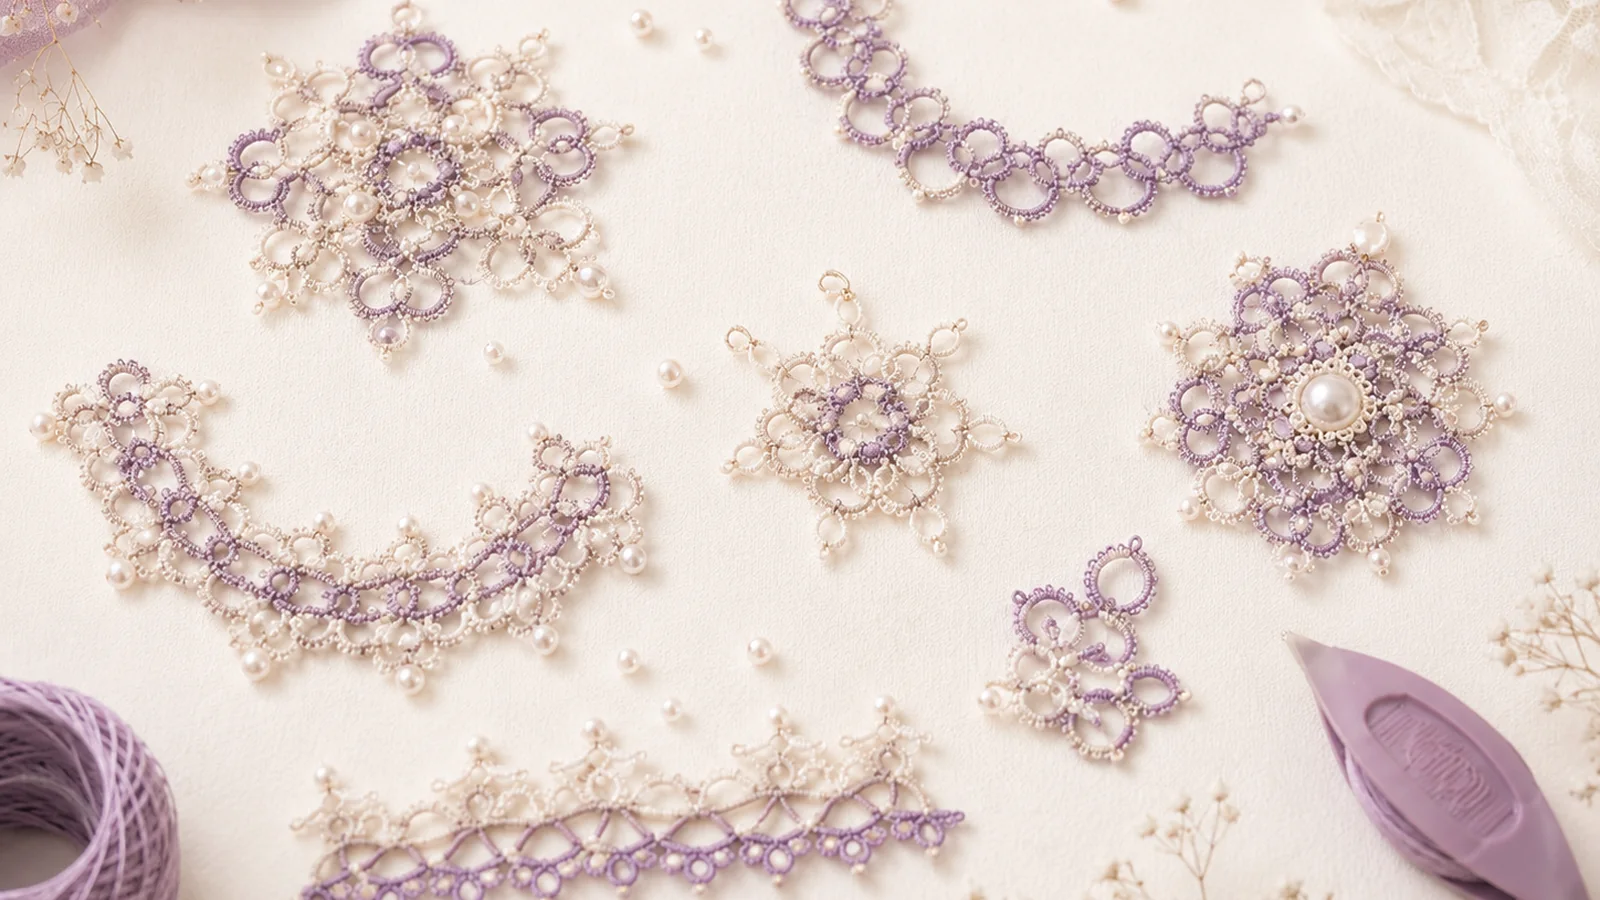
Designers combine rings and chains in many ways, which is how the same small set of techniques can produce flowers, hearts, jewelry elements, borders and geometric motifs.
Tension: Why Your First Stitches May Look Uneven
Beginners often pull the shuttle thread harder than necessary. That can flatten stitches and make the lace tight. At first, aim for stitches that flip correctly and remain able to slide; uniform tension normally improves with repetition.
How to Read a Simple Tatting Pattern
Tatting patterns often look compact because they rely on abbreviations. Before starting, scan the pattern key and confirm what each symbol means.
| Element | What to look for | Question to ask |
|---|---|---|
| Ring | Double-stitch counts and picots before closing | How many stitches go between each picot? |
| Chain | Double stitches and picots worked across two threads | Do I reverse the work before this chain? |
| Join | A point connecting to an earlier picot | Which picot am I joining into? |
A Simple Beginner Practice Order
- Wind the shuttle neatly without overfilling it.
- Practice holding the shuttle and working thread comfortably.
- Make double stitches and test that the shuttle thread still slides.
- Add evenly spaced picots.
- Practice closing simple rings.
- Move to chains, ideally with two contrasting colors.
- Join rings and chains into a small motif before attempting a larger project.
Common Beginner Problems
The stitch may not have flipped correctly. Undo it early rather than building more stitches on top.
Check for an incorrectly transferred stitch or overly tight tension before pulling harder.
Slow down and leave a similar amount of thread between stitches. Consistency comes with practice.
Stop, stretch and adjust your grip. Tatting should not require a painful hand position.
What Can You Make After the Basics?
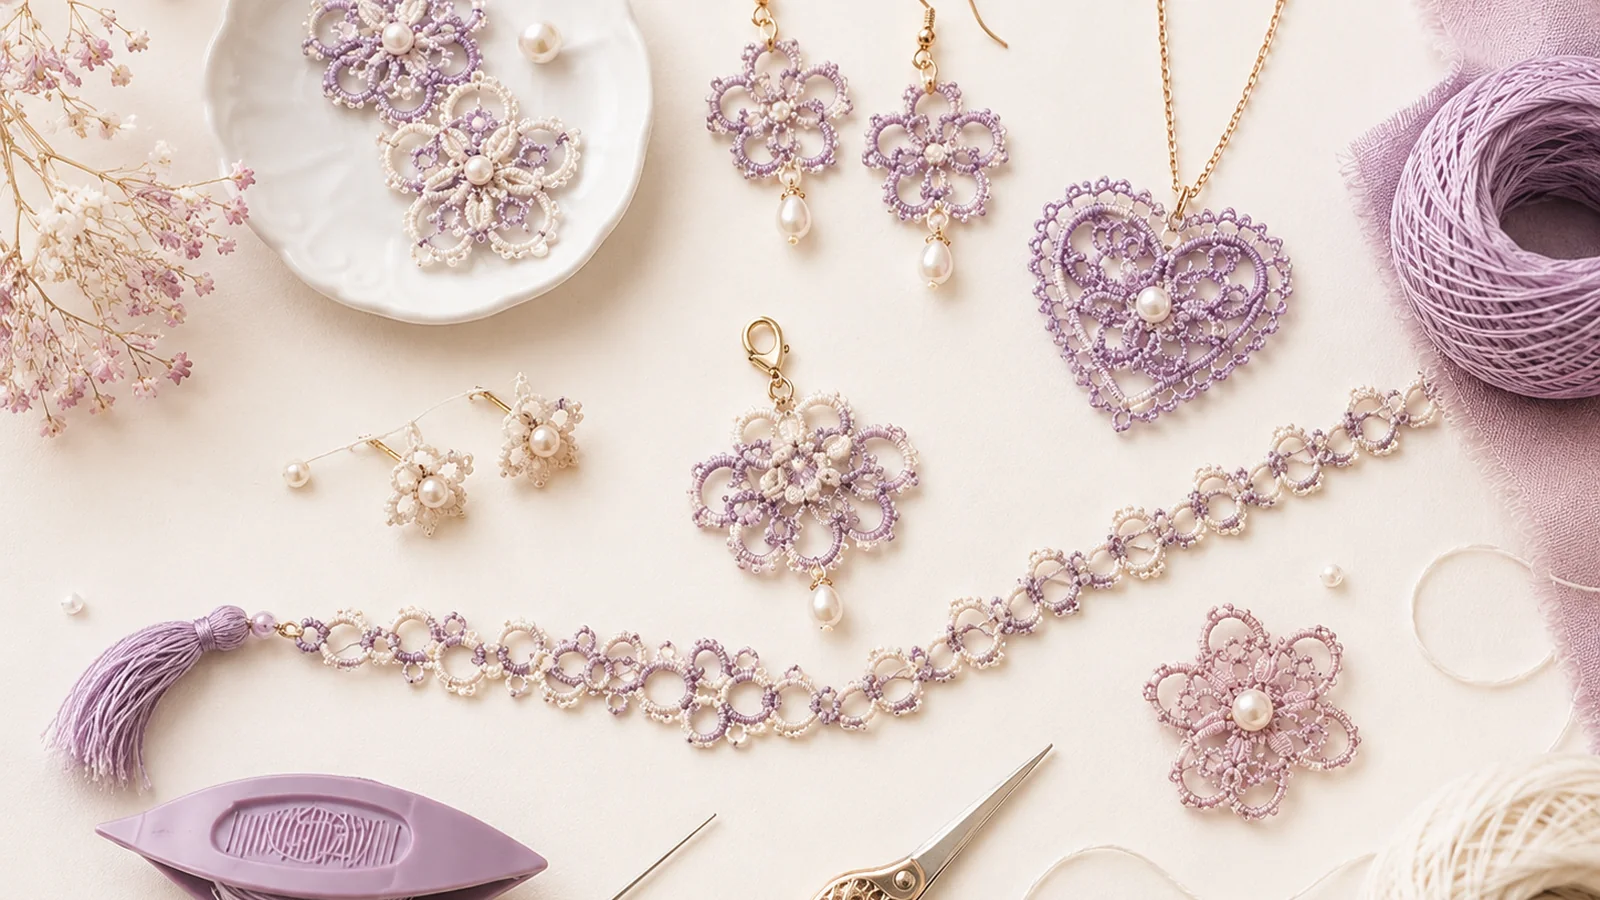
Once you can make reliable double stitches, rings, chains and joins, small finished projects are a useful next step. Jewelry and accessories are especially practical because they let you practice motifs, bead placement and finishing without committing to a large piece of lace.
Earrings, pendants, bracelets, chokers, bookmarks, key chains, flowers and hearts are all natural ways to repeat the same skills and see your tension improve.
Ready to Make Something?
Jewelry, earrings, beaded accessories and step-by-step projects for every skill level.
Frequently Asked Questions
Is tatting hard for beginners?
The first challenge is learning to flip the double stitch correctly. Once that movement becomes consistent, rings, chains and picots become much easier to understand.
Should I start with shuttle tatting or needle tatting?
Either can be learned first. If the patterns you want to make are written for shuttles, learning shuttle tatting first makes those instructions easier to follow.
What thread is easiest for learning tatting?
A thicker, smooth, firmly twisted thread is easier to see and handle than very fine lace thread.
Why will my tatted ring not close?
One or more stitches may not have flipped correctly, which prevents the shuttle thread from sliding. Check the stitches before forcing the ring closed.